Download and Install
Since Displagent is a cross-platform desktop application, you will need to download and install it on your machine. Here is a brief guide on how to do that.
Download Displagent
To download Displagent, please visit the main site's download page and click the download icon that is appropriate for your machine's operating system.
TIP
To confirm that you have downloaded the correct file type for your machine, please look to the file extension reference table below.
| Operating System | File Extension | Status |
|---|---|---|
| Windows | .exe | Supported |
| Mac OS | .dmg | Contact me if interested |
| Linux | .AppImage | Supported |
Raspberry Pi
If you plan to run Displagent on a Raspberry Pi, please see the requirements below.
Architecture
Please install the 64-bit version of Raspberry OS (formerly called Raspbian) on your Raspberry Pi. This is because the .AppImage executable is built on a 64-bit Ubuntu virtual machine.
Verify your OS is 64-bit
Please ensure that you are in fact running the 64-bit version of Raspberry OS. The 32-bit version of Raspberry OS can be paired with the 64-bit version of the Raspberry kernel, and this can be extremely misleading.
Previously, I would suggest opening a terminal and typing in the command uname -m, and if the terminal displayed aarch64 anywhere, then you should be good. However, I have since learned that this command is not entirely accurate.
Instead, to verify that you are running the 64-bit version of Raspberry OS, open a terminal and type in the command file -L /bin/ls. When you enter this command, a long string of text should appear in the terminal, and somewhere in the beginning of the text string, you should see either 32-bit or 64-bit.
Models
I recommend the Raspberry Pi 4 Model B (8 GB) or higher. At the time of updating this doc, the Raspberry Pi 5 is also now available.
Users have found that Displagent runs extremely well on Raspberry Pis with 8 GB of RAM and is my default recommendation for RAM capacity. This is mainly due to the memory load that comes from loading your Power BI reports and Power BI dashboards in <iframe> HTML elements, they are fairly heavy browser visualizations.
Install Displagent
To install Displagent, simply open/run the executable file. Displagent will install itself on your machine relative to your user account, so it is unlikely that you will require admin permissions to install.
TIP
For example, on Windows, the default installation path will be: C:\Users\<user>\AppData\Roaming\Displagent.
AppImage Installation
If you are installing Displagent on a Linux machine (such as a Raspberry Pi), then you may need to do two things:
- Right-click the
.AppImagefile and enable execution permissions. You can also do this from the terminal by runningchmod +x Displagent-Setup-linux-arm64.AppImage. See this AppImage guide for an example. - If the
.AppImagefile will still not execute, your machine may need to have thelibfuse2package installed (AppImagesare known to rely on this package). To install, open a terminal and runsudo apt install libfuse2.
Important
If you are running Displagent on a Raspberry Pi, you may need to run step #2.
AppImage won't execute
If, after downloading the .AppImage file and enabling its execution permissions, you find that Displagent will not even load or open at all, then you may be accidentally running a 32-bit version of Raspberry OS.
Remember, you must be running a 64-bit OS, as Displagent will NOT run on a 32-bit machine. See the section above for more information.
Signup
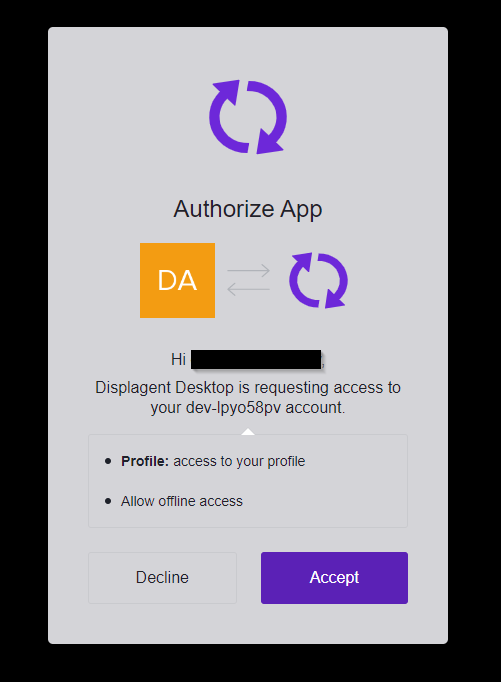
When you first signup for Displagent inside the app, you will likely be met with an Accept/Decline popup from the Displagent authentication system. Please click the Accept button to continue with your account creation.
What is this?
Displagent uses a highly-secure, highly-regulated, and well-established third-party authentication system called Auth0. This popup is a mandatory signup requirement from Auth0 when using a desktop app like Displagent, don't let it alarm you.